Friday 29 May 2015

It's time to Show Your Face again!

Welcome to Magpieheaven! I am really enjoying Kim Dellow's invitation over at her Art it Friday blog to 'Show Your Face'. Each week Kim gives us the chance to link up the faces we have been sketching here. This is such a great opportunity to practise drawing faces using different media and and to challenge yourself. Anything goes, you can use stencils and stamps to decorate, as long as the face is your own work. I've always doodled faces, but Kim's wonderful blog has inspired me to be more focused on actually creating faces of my own to use on projects. Do pop across and take a look at what the very talented Kim has been up to herself as well as the artwork being shared! This week I've been using a little vintage book of quotes and sayings to sketch in. It is inscribed and dated 1918. Those of you who follow the Dragons Dream TIO, will recall that I started creating a face in this book on Wednesday.


She was created with Portfolio Pastels with a coat of PaperArtsy Satin Glaze, and I reduced the size of the image and reshaped it into circles,which I then featured on this tag. I'm planning to use my 'Purple Girl' again as part of a printer's tray assemblage of tiny dolls some time in the future. 

For now, though, I wanted to set myself the challenge of doing two further things with faces this week. First I wanted to create a male face! Secondly I wanted to try for a likeness. And - oops - I think the English teacher part of me made an appearance!


I used a wash of PaperArtsy Snowflake before adding colour with Inktense pencils and a little water on a fine brush. I was quite pleased, as my son recognized this literary celebrity of long ago! A clue to his identity is that his most famous creation made a pact with Lucifer and that he himself met rather a violent death.


Here he is multiplied! I have plans to create a peg doll of him with Helen of Troy on the other side. He is Christopher Marlowe. I wonder if he ever imagined he would be on a peg doll? I used a portrait from the time - much as I would love to have taken a time-machine back to Elizabethan England to meet him and do a lightning sketch! Finally, still in bookish mood, I created a portrait from my imagination this time. I imagine this is what Jane Eyre might have looked like.


Side by side - I can't imagine what these two would have to say to each other! For Jane's portrait, I tried using the Inktense pencils straight onto the page without any wash so the colour was more intense and the book text didn't recede into the background so much. I think I prefer putting down a wash first; but this old paper is really nice to work on and responds to the water and pencils rather like water-colour paper. I'm  looking forward to using both these faces on different projects and eager to see what the other followers of 'Show Your Face' have been creating. I do hope you will have an opportunity this weekend to create something that brings you joy! 

Wednesday 27 May 2015

Circles and Purple - Dragons Dream TIO

Welcome to Magpieheaven and another challenge over at Dragons Dream TIO. Last time we were so very impressed with all your fabulous interpretations of yellow and texture and the winners will soon be announced. This fortnight it's the turn of the lovely Catherine to choose our recipe and she challenges us to create a tag using purple, circles and - of course - at least one real stamp. If you pop over to the Dragons Dream blog you will see all the inspiration the Dragons have dreamed up. I've been sketching faces and altering them digitally so I really wanted to use some of my drawing on this tag.


I sketched a face using Portfolio Pastels on a page from a vintage book of old sayings and quotes. The image was scanned into my computer and I then re-sized it and shaped into a circle to fit in with the theme. I had a vague idea of what I wanted before I began the tag, but as is usually the case, it wasn't quite as I planned it. I'll show you a few step by steps.


The first step was to take a Jumbo tag and a Lin Brown circle stencil and apply some Grunge Paste with a palette knife. Before this was quite dry, I pressed a postmark stamp and some tiny beads into some of the circles. Once the tag was dry I gave it a coat of Pansy Fresco.


Now for the fun part! I'm not one to use a lot of purple, but I do have quite a few shades in my paint collection! I blended Spanish Mulberry Fresco; London Night; Blueberry; Eggplant and Bougainvillea on this tag. For the lighter accents I used Sherbet. You can probably see that I did some stencilling in Sherbet too and stamped Sara Nauman's 'Words' in Sherbet. I used a lid dipped in Sherbet Fresco to create some more circles.


Here is the next step - with my art work attached; some brayering with Sherbet and some Treasure Gold highlights, which really brought out the texture of the tiny beads and the stamping into Grunge Paste. To add a little more texture to the circles and to make what was enclosed inside them stand out, I dipped my lid into Versamark and sprinkled Gold UTEE and Shabby Green Frantage around the sticky circle before heating.


Some little hand-rolled paper beads coated with Gold UTEE and Frantage and Clear UTEE added the finishing touch.


I added more circles of melted Frantage until I was happy with the effect and finally added a sentiment from the Artistic Outpost 'Think and Wonder' plate: "If you never did, you should". Copper wire seemed to go with the purple of the tag and the melted gold.


I wonder what my 'purple girl' is thinking? The text across her portrait speaks of not 'grasping for the stars', but finding joy in daily duties. There is also a quote about the stormy seas of love. These words along with the quote I chose, suggest to me that she is conflicted - should she settle for security and domesticity, or should she take risks and live a more adventurous life? I would love to know what she decided! I do hope you will challenge yourself to dream with the Dragons this fortnight and link up a purple tag with a circle theme. If you never did before - you should! Have a great week full of creativity and fun.

Sunday 24 May 2015

Sea Change

Welcome to Magpieheaven! I'm snatching a little time in between cake baking and preparing Sunday lunch, to blog about a project I've been working on for the last few days. I'm linking the project up to PaperArtsy where the theme is 'Words' because the words of William Shakespeare play a large role in inspiring the piece as well as featuring on the project itself. I suppose what I have created is partly a shrine to some of my favourite words from one of my favourite plays - Shakespeare's 'Tempest'.


The title of the piece is 'Sea Change' and this beautiful phrase features in one of the little chambers which you can see more closely here -


I always loved art at school and for a few years I wanted to become an artist, but that dream faded. Time passed and with my children grown up and no longer dependent, I re-discovered an old love through crafting and the world of craft blogs. At about the same time I came upon two inspirational blogs that truly brought about something of a 'sea change' in my life: Leandra's PaperArtsy blog and that of Sandra Evertson, the American artist and writer. I wanted to explore how beautiful poetry and inspiring artefacts and products ignite the imagination and enable us to turn the most mundane of objects into 'Something rich and Strange' and to combine PaperArtsy paints, stamps and papers with Sandra's new Relics and Artifacts in a project.


It all began with me wanting to find a home for one of Sandra's heart relics, which I had decorated, and some tiles left from our kitchen renovations - yes - the kitchen is still a WIP, now entering its second year! As you can see, the shelf unit I used for my shrine is a rather uninspiring creation in MDF! Sandra's heart was painted with Jade Fresco, rusted and embellished with my own artwork image transferred onto fabric and finished with PaperArtsy Satin Glaze. Further additions are broken jewellery pieces and Prima Art Sugar in charcoal.


I wanted to create a weathered, sea-battered object that contained some of the magic Shakespeare conjures through his poetry and Prospero through his magic books! I gave the unit two coats of black gesso on the outside and a coat of white gesso inside. I was going to use PaperArtsy Fresos and Chatsworth papers, and, although I probably didn't need the white gesso inside, I wanted to make sure I lost that mass-produced look of the shelving unit.


Once I had created the 'blank canvas' as it were for my ideas, my imagination could really take flight! I used this little figure from Sandra's Relics and Artifacts for my Ariel. His wings are the words of Ariel's song 'Come unto these yellow sands'. They are printed out and read 'Pearls that were his eyes' and '...into something rich and strange'. I painted them with Yellow Submarine and Tangerine Twist Frescos, edged them with gold and green frantage and then coated them with Versamark and Ultra Thick Embossing Powder.


In each of the chambers, which are inspired by the idea of Prospero's 'cell' on his magical island, I've played with different textures. I used stencils, Grunge Paste through a Prima flourish stencil and Gel Medium and Fresco paints over gauze and mesh fabrics.


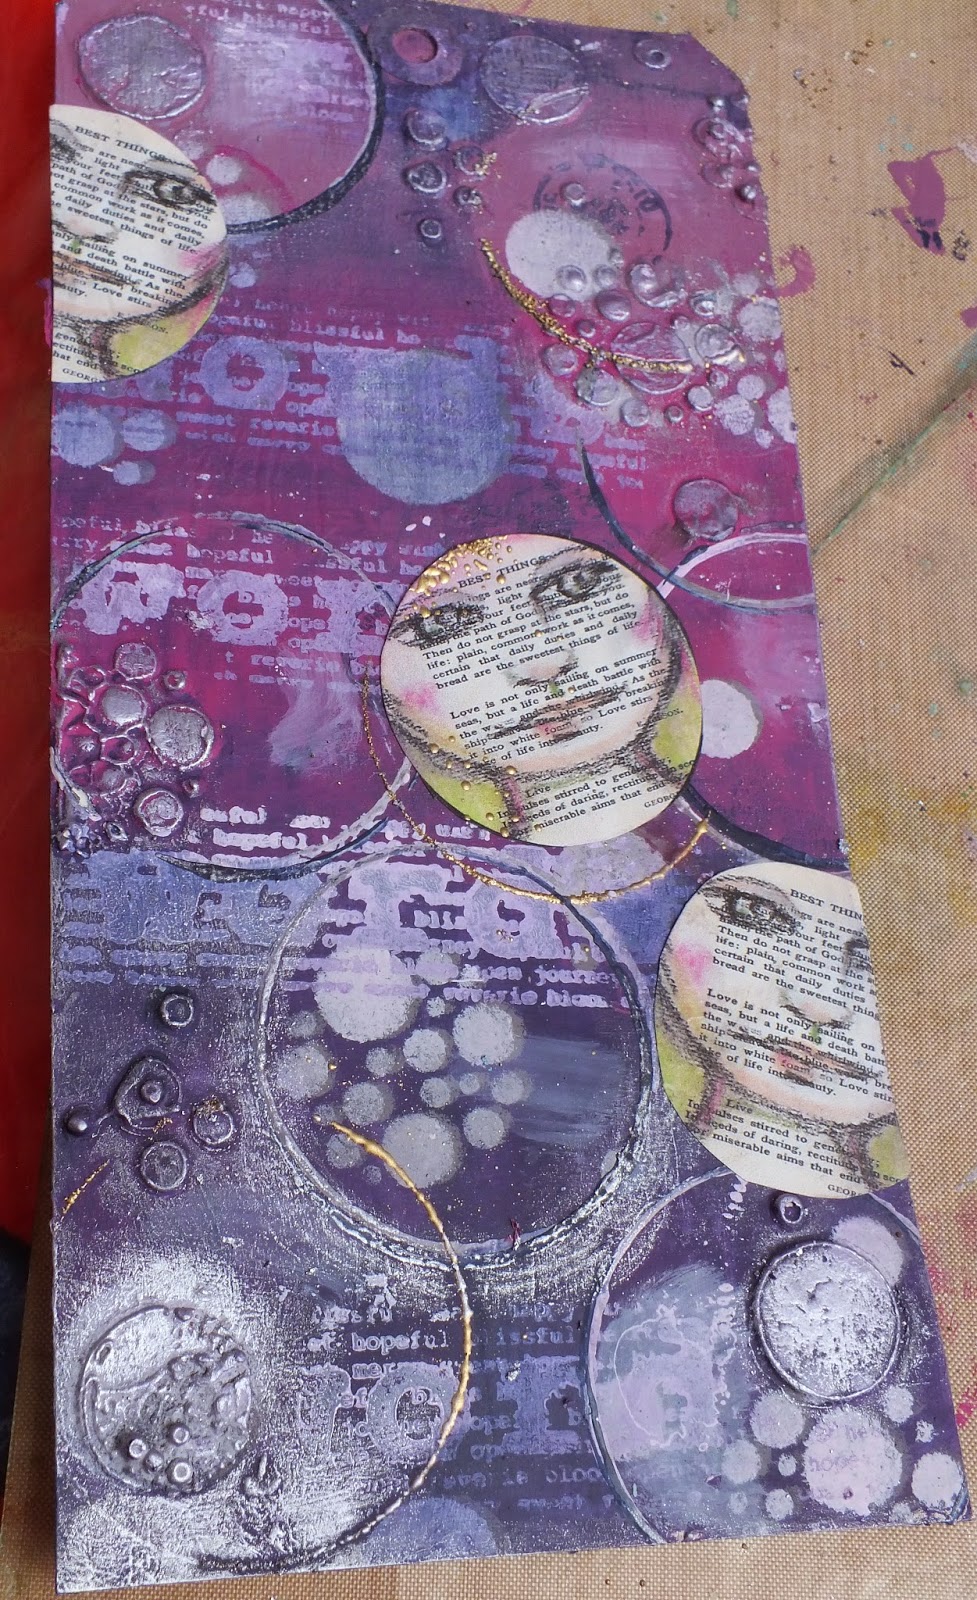
Treasure Gold in Green Amber, Aquamarine and Sapphire really highlighted the textures. I used torn and curled Chatsworth papers some Lynne Perrella script stamped in Toffee Fresco to suggest pages torn from magical tomes and arcane jottings!


Lynne Perrella's beautiful stamp designs, Chatsworth paper with Gold UTEE spatters, Sandra Evertsons' Relics and Artifacts and Shakespeare's poetry combine to 'Foot it featly' in this little compartment.


Those are pearls that were his eyes...


I used napkin tissue, resin flowers and Lin Brown's leafy stencil with Grunge Paste, while on Sandra's heart I blended Frescos in Blue China, Jade, Hey Pesto and Smurf and some Sapphire Treasure Gold.


On the enchanted island, Prospero has all kinds of spirits to do his bidding, but his overwhelming desire is to bring his erstwhile enemies to an understanding of how they wronged him; to forgive them and to be reconciled with them.


 Could this be the kingdom from which he has been exiled for so long? This is a tile sprayed with Fresco washes and stamped with a Lynne Perrella design.


Maybe this is Miranda - more Lynne Perrella stamped with black Archival onto painted tile and then with some finishing touches of PaperArtsy translucent paints.


'A brave vessel' created from napkin tissue and 3D Gel Medium touched with Classic Treasure Gold.


To create a weathered, 'sea-change' look to the project I covered the black gesso with some Prima crackle paste with a little turquoise primary element added. The mysterious gold words along the edges are Wendy Vecchi gold texture paste through a ledger stencil.


I was able to use shells and a piece of coral that I was given long ago so the project is a combination of many elements, all of which have significance for me.


Thank You so much for stopping by my blog today and taking the time to look at all these images. Creating my Sea Change shrine felt a little like stepping onto an enchanted isle. Shakespeare's poetry; the creative possibilities that PaperArtsy open up with their wonderful colours and stamps and Sandra with her inspired Relics and Artifacts helped to make Prospero's Isle real to me for a while! I hope your week will be one of enchantment, creativity and happiness. 

Friday 22 May 2015

Show Your Face - Just for Fun!

Hello and welcome to Magpieheaven. We've had a guest staying this week, and that, along with all the family commitments, have meant I've not had quite so much time to craft. I've still been obsessed with creating faces, though. Ever since Mo introduced me to Kim Dellow's wonderful 'Art it Friday', where she's been encouraging us to 'show our faces' I've simply had to create new faces and to find interesting ways of presenting them! If you haven't done so already, please do take a look at Kim's blog. Her work is such an inspiration and each week more and more really interesting artists have been joining her and showing their faces too!


I've had two projects that have occupied me over the week. The first has been a tiny face. I've always been fascinated by the miniaturist's art and one of my favourite books is on the work of artists like Hilliard and Isaac Oliver, painters who worked painstakingly to create likenesses on ivory, using minute brushes and magnifying glasses. I took a short-cut, reducing a little sketch, which I then transferred onto linen and added to one of Sandra Evertson's smaller Relics and Artifacts.


The shell is a tiny mother-of-pearl sequin, which is really iridescent, but sadly I could not capture this in the photo. I used rusting powder and Prima art sugar in charcoal to create the ageing effect. The leaves in the surround are from broken jewellery and I painted the piece with Frescos in Jade and Guacamole. As I worked on this, Ariel's mysterious song from Shakespeare's play The Tempest came to mind:
Full fathom five thy father lies:
Of his bones are coral made
Those are pearls that were his eyes
Nothing of him that doth fade,
But doth suffer  a sea change
Into something rich and strange.
Sea nymphs hourly ring his knell...
When I had finished my Tempest themed relic, I decided she was, in fact, a Work in Progress and I'm going to include her on a bigger project I'm working on at the moment. I was still preoccupied by the sea and sea nymphs and this journal page was the outcome of my dreaming! What exactly might a sea nymph look like?


Once again I used Inktense pencils with Signo and Pilot fine-liners to create a sea-nymph who might have gone just a little too far in making a statement with this hair-do!


After I had created my sea siren's face, I just had lots of fun with her curls and waves, giving her the most improbable hair ornaments - including a little lady braving the billows! The tree was inspired by my daughter showing me an image of a tree growing under the sea!


After the mystery and magic of Ariel's song, I thought it was time for a little humour with my sea nymph, so the caption reads 'This time even she had to admit to having gone a little too far out with the new hair-do.'


Thank You so much for taking the time to read my blog. I'm really looking forward to 'catching up' with the other faces this week. Best Wishes to everyone who has a special holiday this weekend and even if you don't, have a creative time anyway!

Friday 15 May 2015

A Friday Profile - Kim Dellow's Art it Friday

Hello and welcome to Magpieheaven! Once again it's Friday and now that means it's Art it Friday. If you don't know what that is yet, please do hop across to Kim's blog - you will not be disappointed! I've been having so much fun since I discovered Kim's challenge to link up faces we've created and to share the inspiration of the other portrait enthusiasts too! So far I've been playing with creating full face portraits to copy and then use on collage or peg dolls. Today, though, I wanted to have a go at creating a profile and incorporating this into a journal page. I began with the vintage book I've been sketching on lately.


After tearing out a page I gave it a wash of Snowflake paint by PaperArtsy and then worked over this with Inktense pencils to create shading on the face and a little 'found poetry' on my book text. I outlined the profile with a brush type black marker by Pitt Pens and a added some doodled curls with a fine, black Pilot pen.


I wanted to surround my profile portrait with butterflies, but not ones that looked too naturalistic. I stamped Darcy Wilkinson's lovely heart flower onto my book text with Black Archival ink and then cut out the heart-shaped petals, shading them with a blue inktense pencil. These were to embellish the portrait only and not to form part of the face, as Kim's rule is that we use our own art work only and no stencils or stamps on our faces.


For my background, I blended different PaperArtsy blues: Antarctic, Lake Wanaka, Smurf, China and Inky Pool. I stencilled with Sage, adding some 'Stencil Girl' birds and branches, brayered with Buff and Snowflake. I then dipped a lid into different puddles of colour to create bubble-like circles. The leaves are from a Darcy Wilkinson PaperArtsy Eclectica set and I stamped them in Guacamole, in places over my book text profile so that she was blended into the journal page.


I was happy with the way the profile occupied the space on the page and how the blend of Fresco Arcylics and Inktense pencils worked. I was pleased with the flower petal butterflies too, as I felt they added interest without being too distracting.


Here is one final close-up so that the found poetry is a bit more visible. This is my first attempt at this technique and I should definitely like to try it some more, This is really more of a Haiku than a conventional poem:
Imitation jewels of glass or paste,
Sapphire, sky-blue,
Shining.
True-lover's embroidery
Memorials...
Another mystery lady in my portrait gallery: who is she waiting for in her enchanted garden surrounded by birds and butterflies?
Thank You so much for dropping by today. I do hope, if you're not doing so already, you'll play around with creating some portraits of your own in the coming week. I've really enjoyed using the pages of my journal to do this. Have a wonderful, creative weekend everyone! 

Wednesday 13 May 2015

Yellow and Texture - Dragon's Dream TIO

Welcome to Magpieheaven! Once again the days have flown by and it's time to dream with the Dragons! Here at the Dragon's Dream we always love to see what you come up with in response to the recipes! You really rose to the challenge with Helen's Black and Stencils! Now Sylvia has chosen Yellow and Texture to challenge us! I love the way that other crafters use use fresh, cheerful yellows on bright, springtime projects; but I've never felt comfortable with yellow somehow! Well, time to leave my comfort zone! Please do pop over to the Dragon's Dream and take a look at the wonderful tags my 'teamies' have created, if you want some inspiration - they are dazzling! 


I took a jumbo tag and stuck on some little tiles with stencilled Grunge Paste on them, a technique I learned from the wonderful Lin Brown, whose PaperArtsy house and bird stamps also figure on the tag! I then took all the shades of yellow I own! For a base coat, I used Cheesecake Fresco and then blended Haystack, Banana, Yellow Submarine, Tangerine Twist and finally Zesty Zing! There's also an area of Tango there too, but it's more orange than yellow! That glow was reminding me of a childhood picture book our children had, which featured yellow quite dramatically.


 It contained the wonderful silhouettes of Jan Pienkowski against marbled skies. What was the story?


Who is landing among the birds and the branches from the PaperArtsy Hotpicks stamp? It's Baba Yaga, the witch from Eastern European folk tales whose house walks on chicken legs!


Apart from Lin's texture idea on the background, the pennants on the house are highlighted with Glossy Accents and the 'chicken' body appears to be 'welded' on using Pearlen Pen blobs to resemble rivets! I also stamped Darcy's leaves around the edges, clear embossing the black Archival ink.


So Darcy, Lin Brown and Hot Picks all combined  to create Baba Yags's world on this tag.


There have been so many interpretations of this 'witch' with her bizarre house and Pienkowski's is really beautiful as well as sinister, with the allusion to Baba Yaga's taste for human flesh in the skull and bones gate outside! Mine is, I suppose, a bit more crazy and quirky! I stamped the chicken body straight onto the tag and then added Lin's little house, cut out and fixed onto dimensional pads with a couple of the extra wings, again clearly embossed. Perhaps there is a different story to this little 'chicken-house', one not quite as menacing as that of Baba Yaga who lured travellers into her odd little house in the woods in order to eat them!
I do hope you will join in the Dragons' challenge this fortnight. Remember to use yellow and texture and at least one stamped image on a tag! Have a happy and a creative week!

Tuesday 12 May 2015

Old, New and Digi Too!

Hello and Welcome to Magpieheaven! There's a new challenge blog making its entrance into Crafty Blogland - Old, New and Digital too! I really wanted to join in, as I have for some time admired Mo and Deborah's work and they are both DT members. Furthermore, the blog is Mo's brainchild! I think it's such an enterprising thing to do! I have studied the rules of the challenge and I hope that my project will suffice. My main concern is the DIGI part. I use Word to resize and duplicate portraits like this one created on a page of vintage book text.


 I hope this will count as 'using a computer programme'. The old and new aspects of the challenge were not so difficult to apply. I began with the OLD part, one of my supplies which I've been collecting in my cupboard for quite some time - a jumbo clothes peg!


I like to experiment, creating characters for these pegs, which I give to friends as gifts. So far the extent of my digi art has been to sketch faces, scan them into the computer and then copy and paste them into Word and resize and repeat them. I'm really eager to learn and I would like to discover other applications and programmes that could be used with my work, so I really hope this somewhat 'primitive' attempt at using technology will be acceptable!


 I have found it so useful to be able to adapt faces to fit exactly onto a project without having to draw and re-draw every time. My long-term plan is to create a resource of my own hand-drawn images that I can play around with and use on a variety of projects. I gesso the pegs before applying a base coat and then a shaded background with stencilling over the top. My favourite stencil at the moment is this Rebekkah Meier one, which is fun to create 3D effects with.


Here you can see how this lady changed as I played around with different ideas! I was going to use the text around her head that I had cut out with her, but, in the end, I opted for a PaperArtsy Fresco, Yellow Submarine background with stamping from a Red Lead stamp on it. Rather that the ex-voto heart, I gave her a little resin flower and an MDF heart, crackled and stamped. The NEW idea was to give her feet and these are my very first feet creations! What I also like to do is to stamp out lots of sentiments from different sets and then combine them to create new 'stories' for my characters! Who is she, this mysterious moonlight dancer?


I've had lots of fun doing this and arranging the dolls so that they have little conversations with each other!


I like to decorate both sides of the pegs: the reverse side of my moonlight dancer is a cheery sun, again sketched by myself and re-sized.


This sentiment is from an Artistic Outpost stamp plate and it seemed just perfect for the project!
Thank You so much for looking at my very first entry for Mo's challenge. I do hope this little project counts as Old, New and Digi too!